
Nip and a Punch for the 1st of the Month!
It is officially September and it is officially the first day of my new schedule so be excited! Even if you aren't excited just pretend because then you'll smile and be happy :)
I decided that Monday's were going to be for How To's, DIY's, Tutorials etc. so guess what you're getting today!? A hair tutorial!

I did a post about back to school hairstyles the other day which you can read here if you fancy it and I thought I'd continue the hair theme a little bit but go into a little more detail about how to physically do a specific hairstyle. I've picked the most common hair tutorial probably on the whole internet but it's a hairstyle I personally really like to wear because it's so simple and quick once you've got the hang of it.
I used to do fishtail braids ALL the time when I had long hair however, I got my hair cut very short in January this year (you guys never saw it long because I started my blog in March this year) and I wasn't able to put a fishtail in my hair for a really long time.
I only just discovered the other day that I could do this after I worked out I could do a half fishtail like shown in my Back to School Hairstyles post.
This was cause for celebration so I'm going to do a tutorial on how to do it!
I've rambled on enough now and there's gonna be a lot of pictures because it's actually surprisingly hard to do a hair tutorial in images rather than a video! Here goes nothing!
What products I used first...

Okay, so this is a weird photo...It was supposed to show how messy and tangled my hair is when I take my towel turban off but I just look like a bit of an idiot really...

The shampoo I used is the Alberto Balsam Juicy Green Apple which is aimed at greasy hair. I feel this shampoo stops my hair from becoming greasy as quickly especially with my fringe because I'm always fiddling with it.
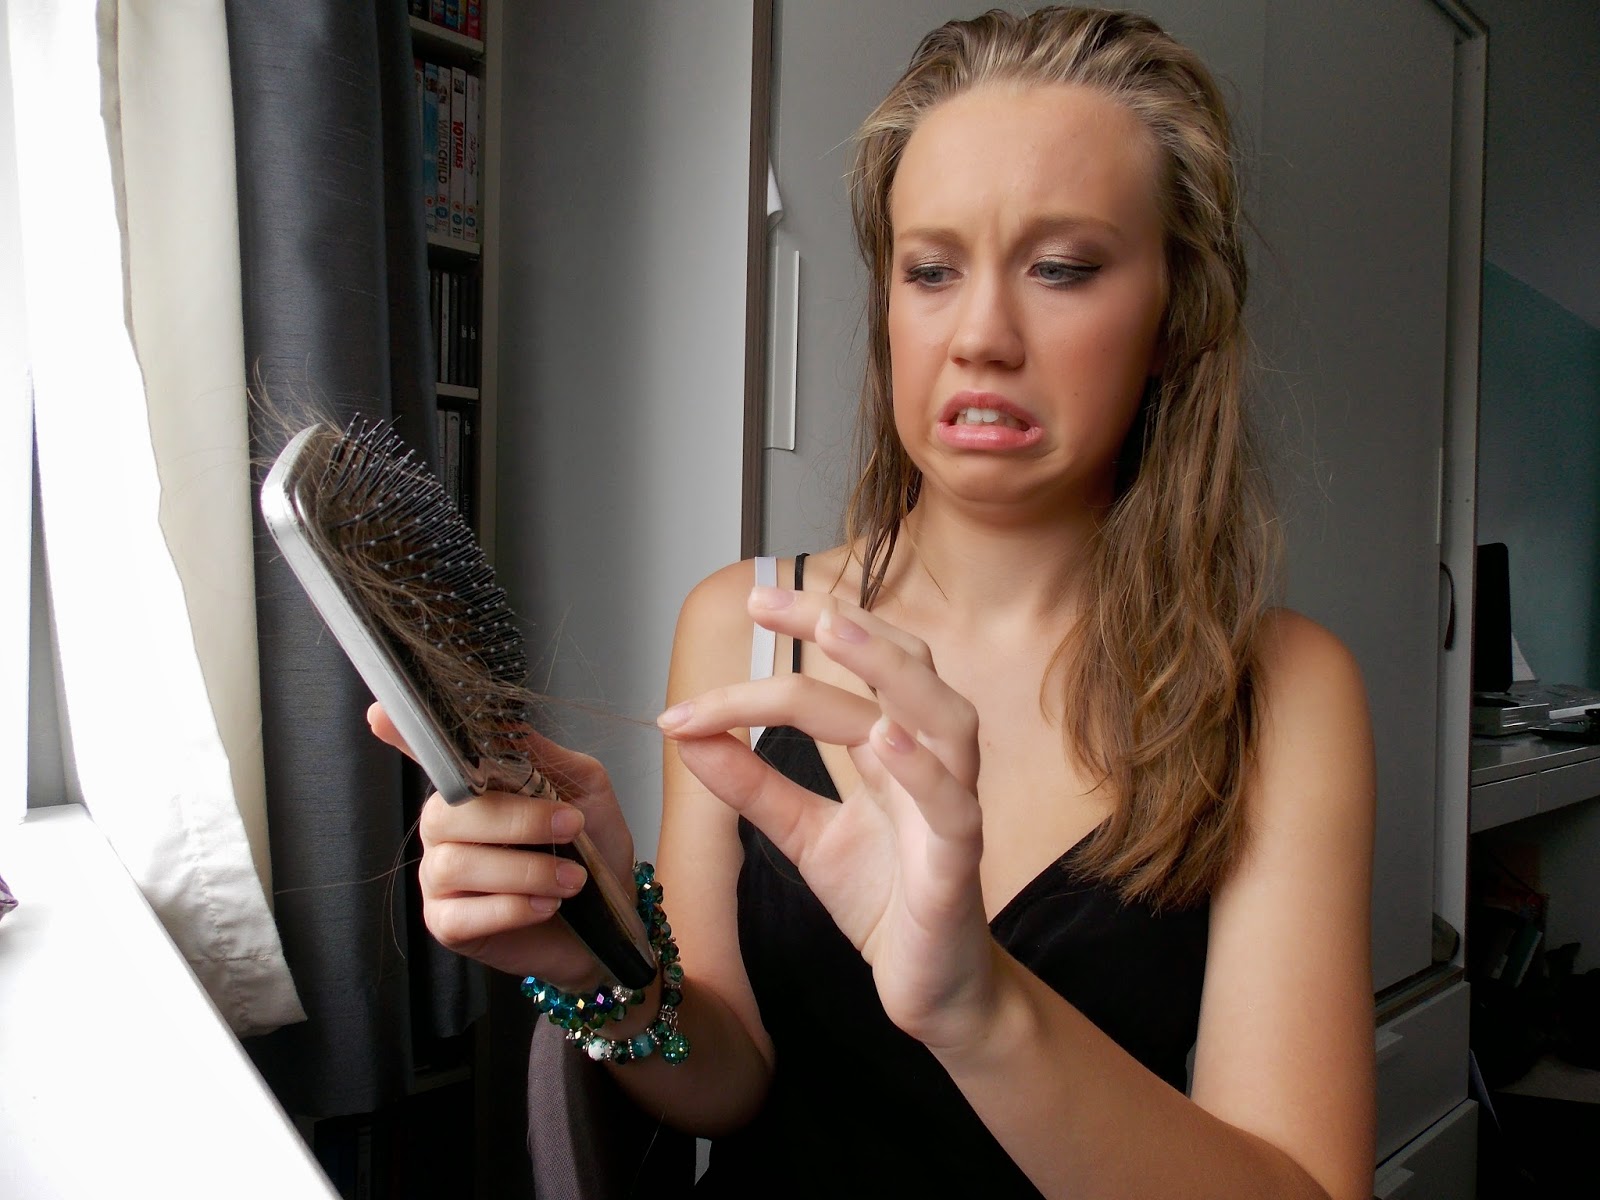
Another interesting face...I left the camera taking a picture when I realised I had LOADS of disgusting hair in my brush!

Cheeky snap of me in the process brushing all the tats out ;)

Can't really explain this one...yeah...thumbs up...

The next product I use is my argan oil which I ONLY put on the ENDS of my hair because sometimes this product can make your hair a little greasy when you dry it which isn't a good look. However it is really good for repairing the ends of my hair.

Next I use my Trevor Sorbie Beautifully Straightened Lightweight Serum. This is weird because I'm not straightening my hair I'm putting it back but in my opinion it makes my hair feel really nice and I just like to use it whenever I can really!

I'm also using my Mega Hold Mousse from Boots just for a little extra protection from loose ends falling out!

Cheesy snap of putting the mousse in!

Before setting the hair dryer on my hair I just squeeze the towel around it to get the worst off.

Another interesting face...I prefer to dry my fringe with a barrel brush because it gets the curve effect much better. If you have a full fringe, you will know what I mean when I say "curve"...

Not even too sure because I regretted this as soon as I did it. Totally ruined my fringe that I just dried doing this.

All dry!

Another quick brush to get out any tats that the hair dryer created.

To finish it off before styling, I always use my Toni & Guy Finishing Shine Spray because it smells really nice and it also gives my hair a lovely finish.
Time to fishtail...

Just in case you didn't know what a hair elastic looked like...Now you do!

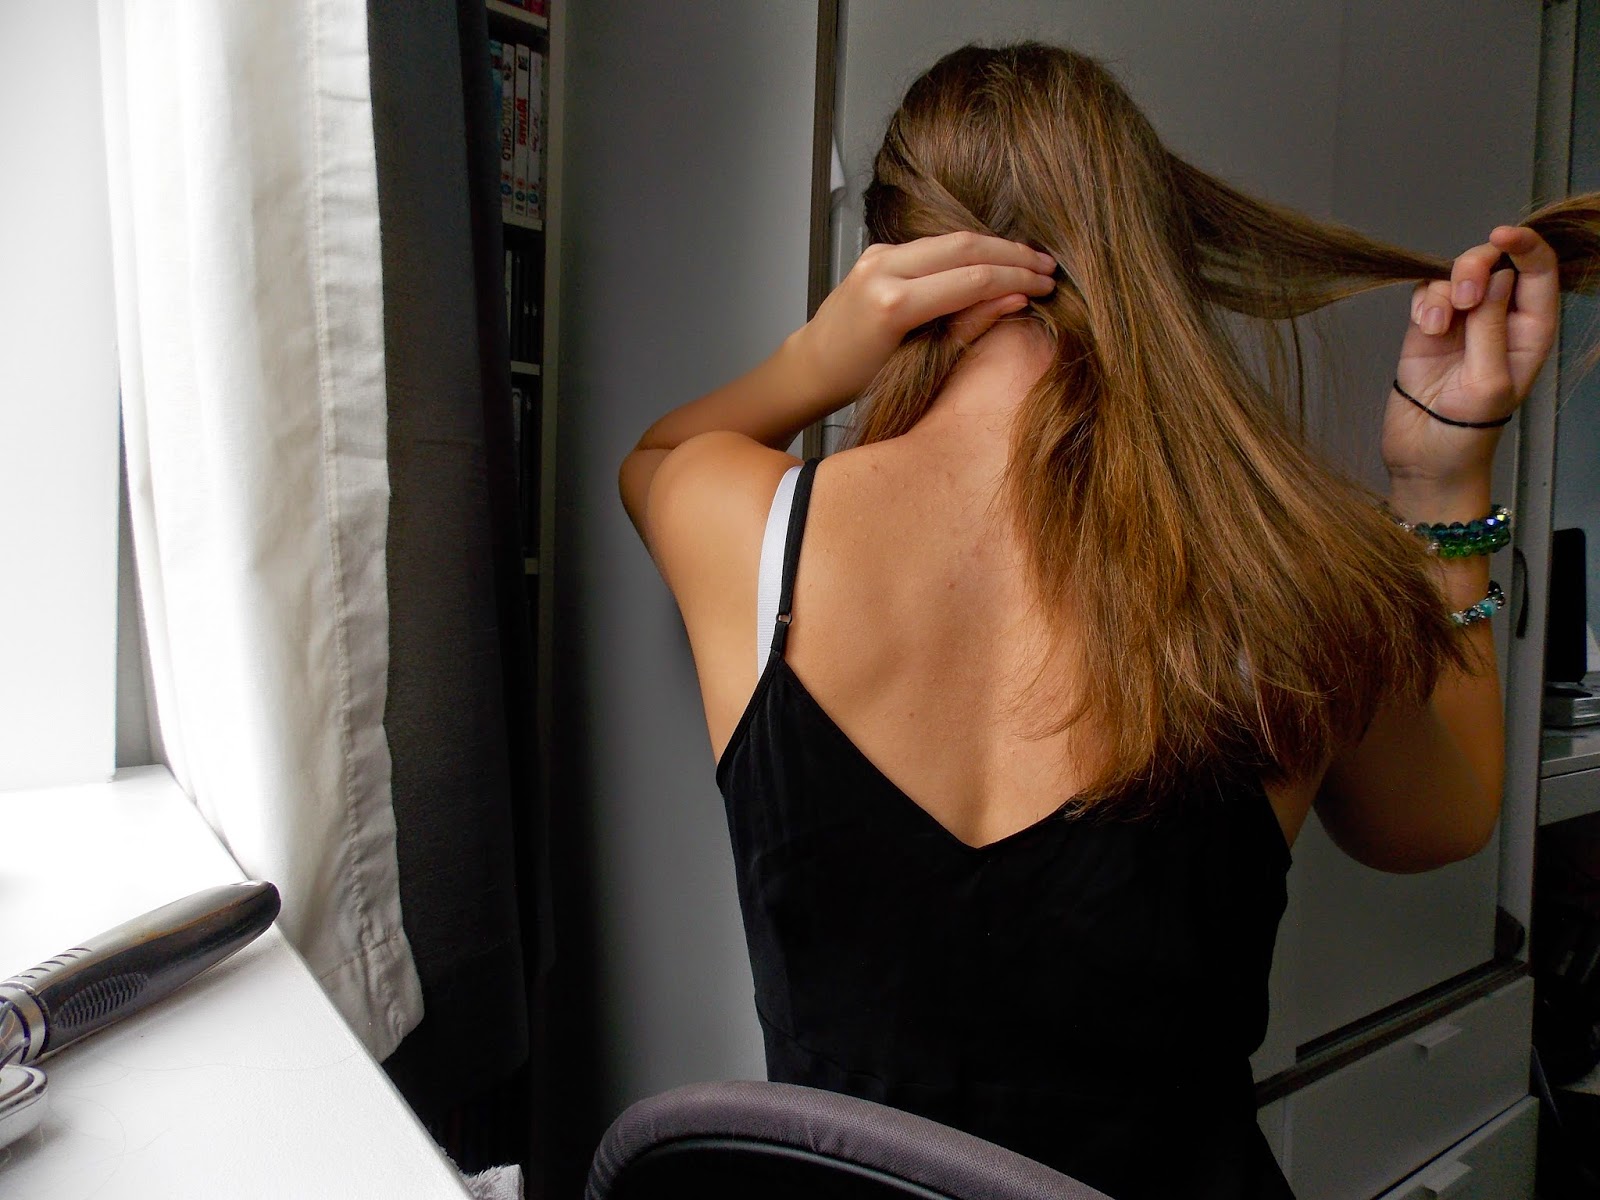
This is where the explaining gets difficult for me... Separate your hair into 2 halves at the back of your head. Don't worry, it doesn't have to be perfect you won't notice when the hairstyle is finished :)

Take one small section from the OUTSIDE of one side.

Now bring this section of hair over the top of the larger section over to the other side.
Now select a smaller section of hair from the other side the same way you did the last one. Still holding the other piece of hair in place if you can!

Pull it tight and you will hopefully have made a cross like this! I know you can't really see it if it's at the back of your head but you know what I mean!

You're gonna continue this down all the way until you reach the end. I've taken some pictures of the same steps further down the braid so that you can see the effect it gives. Taking a smaller section from one side preparing to take it over.

Next you take it over to the other side again and hold it in place.

Taking a smaller section from the other side preparing to take it over to the opposite side.

Now take this section over to the other side and pull tightly. Still holding the other side in place.

Just some more images of the same steps to help you get the hang of it! You may also notice I've pulled the braid round to the side because I can't do it all the way down my back as my arms don't reach that far! This is actually quite tricky to do because you have to make sure you don't drop any sections but you'll get the hang of it!


Finally at the end, this is your finished braid! Well, almost!

Don't forget the elastic or your braid will fall right out!

Here's your finished look! This is also where you decide if you want to pull out any bits to frame your face, push back your fringe etc. Make it your own!

Some bits may be a bit loose but this just adds to the effect! I prefer this look to have a messy and edgy look but that's just me! You can always add in bobby pins where you feel you may need them!
Okay that was way more difficult than I thought it would be so I hope you enjoyed it! If you didn't, well, I'm sorry! Maybe a review on Wednesday may suit you more so come back then!
For those of you that got this far, thank you! I know it was a lot of photos but trying to do a hair tutorial in a series of photos is a lot harder than I thought it would be!
Until Wednesday,
Becca x

P.S. Good luck to everyone going back to school over the next week! I go back Wednesday, woo!
Hahaha these pictures are hilarious Becca! Had me giggling so much x
ReplyDeleteHaha thaanks Jenna! Thought I'd make it a little amusing :) x
Delete